Part Two - Dude! Let's Get Started: (Read Part One first)
PicMonkey-ers: remember the steps past #2 can be done in any order, and can be considered as "layers". Just note that once you've created a "layer" it cannot be layered behind other layers (you can attempt to bring "forward" or "backward" but it didn't work for me).
Update: PicMonkey listened to us and created a feature where you can choose a "blank" box and size it to whatever you need it to be...so we now suggest using that feature. However this tutorial is still totally awesome and will work great!
Before getting started you may want to read some of our beginner PicMonkey tutorials such as: How To Get Started, How To Make Your Posts Pinteresting,
How To Make a Header for Your Blog, and Blank Canvases to Use With PicMonkey
- Upload your blank square to PicMonkey (links in Part One). Click on the Edit Photo link on their front page and it will lead you through a couple of steps to upload. Very simple and only takes a few seconds. NOTE: if you click the back button while using PicMonkey, you will lose all your work, so try not to use that key.
- Re-color - I prefer to start with a white background, but you can keep the gray or also use black (or another color). To change your gray button to white, click on Exposure and slide the brightness (top) bar all the way to 100 (right for white) or 0 (left for black).
- Now you can create a border for your button (optional). Click here to see how to add a border.
- Now you will use a design element or add one yourself (which you may have purchased or gotten free and saved to your desktop-explanation was in Part One) by clicking "Your Own" under Overlays. Want some FREE elements? Check out our giveaway going on this week!
Overlays is the place to find cute designs, shapes, ribbons, etc. Don't forget you can use the free elements supplied by PicMonkey in different ways, not always as what they are supposed to be. It's simple to drag a shape and only use part of it. - Now, the all-important text! Decide if you're going to use words besides your blog's name. You can say things like: Welcome! I love comments! This is My Blog. Etc. Then place your blog name or URL in the text box. In PicMonkey you can find text by clicking the P symbol. They recently added a few more excellent fonts to choose from. If you don't find a font you love then you will have to add your text in another program such as Elements or Photoshop. (It helps to have a Royale membership when it comes to fonts).
- Adding a frame from the "frames" gallery is also fun to do at the end. This will change the "size" of your button, so if you plan on doing this then you may want to factor that in. There are some very cute frames to choose from, you can also manipulate the size of them to suit your style.
- Saving your button - a very important step. Make sure and save as a .png file. You can change the size of the pixels before saving too... (You may want to know How Wide is My Sidebar?)
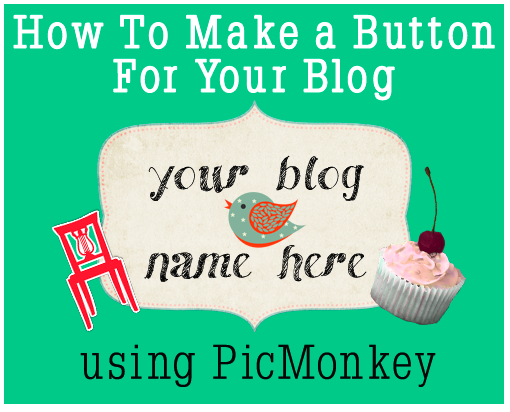
Here are some examples of buttons I made only using images available for free on PicMonkey:
 |
| To change the button size, change the Dimensions as shown above |
 |
| The new size is 150x150! |
Thanks for hanging in there with this post...we hope it helped.
Remember you can do it! You can't ruin anything...it just takes time and practice.
Show us your buttons when you're all done!
Now to create HTML code:
















Hi Sarah. I love your tutorials and bookmarked this page along with a few others! I'll be working on my blog button. :)
ReplyDeleteThanks so much!
Heather
www.My-Sweet-Mission.com
THANK YOU Heather! I hope it was clear enough. I feel like I left out something...
Deletewhat a great tute! could you write a tutorial on how to size buttons so they are all the same size? i want to clean up my link party page. thank you so much!
ReplyDeleteLisa, good idea. Send me the link to your linky party page so I can see what you need. Thanks!
Delete