This is part of our tutorial series on making a homemade button for your blog. You may want to read from the very beginning.... There are several methods you can use to create a border around your button. The method shown here gives you more control over the size, shape and color of the border. For a very quick border/frame you can click on "Frames" and "Simple Edge". Use which method works best for you!
When you're ready to add a border (or a line anywhere in the space) to your uploaded button blank these are the steps:
1. You will need to click on
Overlays
Rectangle
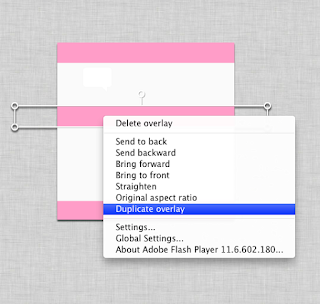
You then drag the rectangle that appears to the length and width you desire. You may also change the color to suit your design. You only need to do this once. If you wish to duplicate the shape you've created, just right click, and look for "duplicate overlay" and this will duplicate each time you click it. (If you're using a perfect square you can also click the square shape and drag it to fill most of your space, thus creating a border effect).
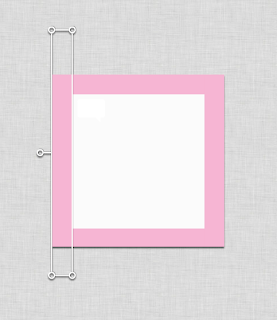
2. Then you will drag each shape to where you'd like it to be on your button. I've created a pink border around the perimeter of the box. To turn the shape, just click on the little circle attached to it and you can spin it vertically.
If you can't quite get it straight, you may right click and then click "straighten". This will work both horizontally and vertically.
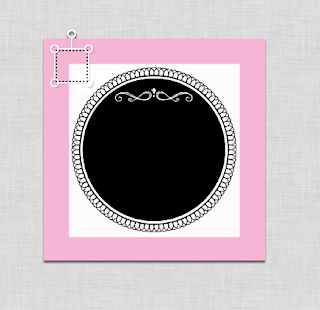
Of course, you can add even more embellishment to your new border.
Look for
or
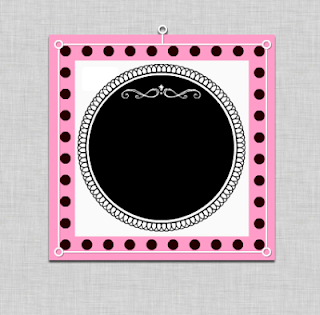
(these work great!) and add some pizazz to your button. Just experiment with different choices, change their colors and size too. Just like below:
White
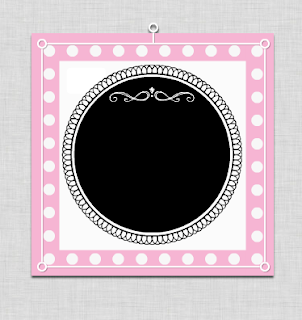
Pink
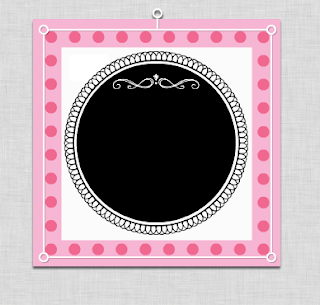
Now, when you're all done with the border (frame) you can save it. Or you can keep going with your button creation. If you save it to your desk top you will always have it to work with in case you need to start over with your button.This, of course, works with any shape you choose to work with (except circles).
To make a circular button with a border, just create a circle in Geometric, then create another circle on top in a different color! Super easy!












No comments:
Post a Comment
Comments are how we stay connected as bloggers. Let us know how you feel and we'll return the favor...stay calm and blog on!!! And guess what? You'll never find Word Verification on our blog...it gets kind of annoying when you can't read what WV wants you to verify right?
Note: Only a member of this blog may post a comment.